Overview
When children design a science project, the question “How many times should I repeat my test?” often feels vague. The answer is not a fixed number; it depends on the type of measurement, how much random variation you expect, and how much time you have. This project lets students explore the idea directly by measuring the bounce height of a small ball from a cardboard ramp. By repeating the measurement a few times, they see how the average becomes more stable and why scientists usually run three or more trials.
Before You Begin
- Set aside a quiet table where the ramp can stay flat and undisturbed.
- Gather an adult to help with cutting cardboard and to supervise any use of a stopwatch or phone timer.
- Plan for about 30 minutes of active work plus 10 minutes for data entry and discussion.
Materials (Everyday Items)
- 1 sheet of sturdy cardboard (about 30 cm × 30 cm) – for the ramp.
- Scissors or a safe utility knife (adult use only).
- Masking tape or painter’s tape.
- 1 small ball or marble (common household item).
- Ruler or yardstick (to measure height in centimeters).
- Paper for recording data (plain printer paper works).
- Pen or pencil.
- Stopwatch or a phone timer (optional, for timing the bounce).
Step‑by‑Step Procedure
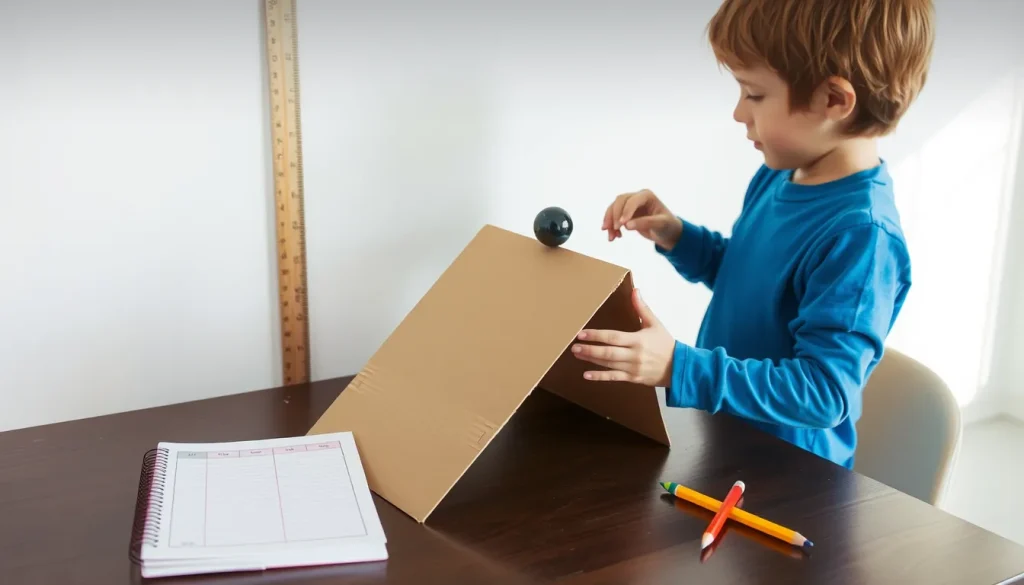
- Cut the cardboard into a rectangular piece about 30 cm long and 10 cm wide.
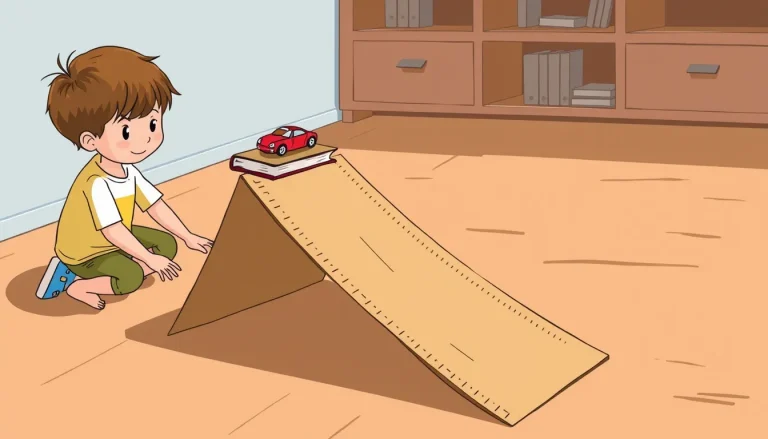
- Fold a small “lip” (≈2 cm) at one short edge and tape it down; this will hold the ball at the start of the ramp.
- Prop the opposite short edge on a stack of books to create a gentle slope (about 15°). Use tape to secure the ramp so it does not move during the test.
- Place the ball on the lip and let it roll down the ramp. It will leave the ramp and bounce on the floor.
- Immediately measure the highest point the ball reaches after the bounce (use the ruler against a wall or a piece of cardboard placed vertically). Record the height in centimeters.
- Return the ball to the start, straighten the ramp if needed, and repeat the measurement.
- Perform at least three complete repetitions (called trials) before deciding whether more are needed.
- After each trial, note any visible differences (e.g., a wobble in the ramp, a different launch angle). Keep the ramp setup identical for all trials.
What to Observe or Measure
- Bounce height (cm): the vertical distance from the floor to the highest point reached after the bounce.
- Consistency of the ramp: check that the angle and surface stay the same.
- (Optional) Time of flight (seconds): use a stopwatch to time from release to landing.
Variables and Controls
- Independent variable: the number of trials (you will see how the result changes as you add more).
- Dependent variable: measured bounce height.
- Controlled variables: ramp angle, ball type, surface where the ball lands, measurement method, and ambient conditions (e.g., no wind).
- Control group: not needed for this single‑variable test; the “control” is the consistent set‑up that remains the same for every trial.
Repeated Trials – Why and How Many?
Repeating a measurement reduces the impact of random error – the small, unpredictable variations that occur each time you measure. Science Buddies recommends planning to repeat an experiment at least three times; more repeats increase confidence, especially when the data vary a lot [1]. The signal‑to‑noise guide adds that making repeated measurements is one of the six most effective ways to boost the signal‑to‑noise ratio [4]. A good rule of thumb for elementary projects:
- 3–5 trials: sufficient for a clear pattern when measurements are fairly consistent.
- 6–10 trials: advisable if the bounce height varies a lot (e.g., the ramp wobbles or the ball is not perfectly round).
- More than 10: usually unnecessary for a simple classroom activity unless you are studying statistics in depth.
After each set of trials, calculate the average (mean) height and the range (difference between highest and lowest). If the range is large, add more trials until the average stabilizes.
Data Table (Blank)
| Trial # | Bounce Height (cm) | Notes (e.g., ramp wobble) |
|---|---|---|
| 1 | ||
| 2 | ||
| 3 | ||
| 4 (optional) | ||
| 5 (optional) |
Graphing Your Results
When you have at least three data points, plot a simple column chart:
- X‑axis: Trial number.
- Y‑axis: Bounce height (cm).
- Draw a horizontal line representing the average height; the distance of each column from this line shows the variation.
Seeing the columns cluster near the average helps students understand why more trials give a clearer picture.
The Science Explained
Every measurement contains two parts: the true value (the “signal”) and random error (the “noise”). When you repeat the measurement, the random errors tend to cancel out, and the average gets closer to the true value. This is why professional scientists run many repetitions before publishing results. In a classroom setting, the goal is to make the random error small enough that the pattern you observe is trustworthy. By experimenting with different numbers of trials, students experience this principle firsthand.
Troubleshooting
- Ramp slides during a trial: Add extra tape or a heavier base of books.
- Ball rolls off the ramp at different speeds: Ensure the lip releases the ball without a push; use a smooth, uniform ball.
- Inconsistent height measurements: Measure against the same vertical surface each time and keep the ruler steady.
- Very large variation after 3 trials: Increase the number of trials to 6–8 and check that the ramp angle is unchanged.
Next Steps
After completing the bounce‑height experiment, families can extend the idea:
- Change the ramp angle and see how the average bounce height changes.
- Try different balls (rubber, steel, ping‑pong) and compare results.
- Record the time of flight and explore the relationship between height and time.
Each extension provides another opportunity to decide how many trials are needed for reliable conclusions.
Frequently asked questions
Do I always have to do exactly three trials?
Three trials are the minimum most educators recommend because they give a first sense of variability. Depending on how much the results vary, you may need more (four, five, or even ten) to feel confident in the average.
What if my measurements are exactly the same each time?
If every trial yields the same number, the measurement may be limited by the precision of your tool (e.g., a ruler marked only in whole centimeters). In that case, adding more trials won’t change the average, but you might consider using a more precise measuring device.
Related terms
- Trial
- One complete execution of an experiment under the same conditions.
- Variable
- A factor that can change; in experiments the independent variable is manipulated, and the dependent variable is measured.
- Control
- A condition kept constant so that the effect of the independent variable can be isolated.
Sources & references
- Science Buddies – Preparing Experimental Procedures for a Science Fair Project, https://www.sciencebuddies.org/science-fair-projects/science-fair/writing-experimental-procedures
- Science Buddies – Increasing the Ability of an Experiment to Measure an Effect, https://www.sciencebuddies.org/science-fair-projects/competitions/experimental-design-increasing-signal-to-noise
- Science Fair – Minimum Quality Requirements for Project Types, https://science-fair.org/rules-and-registration/project-standards/