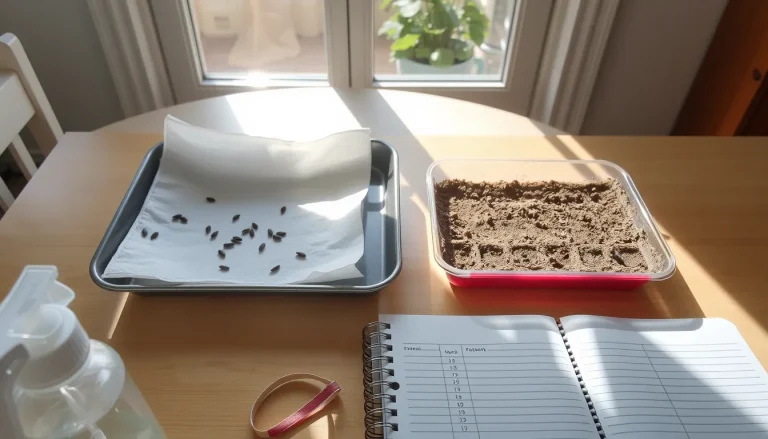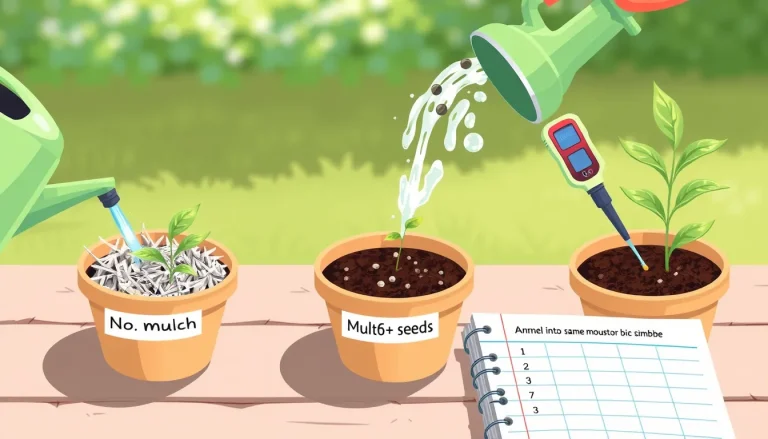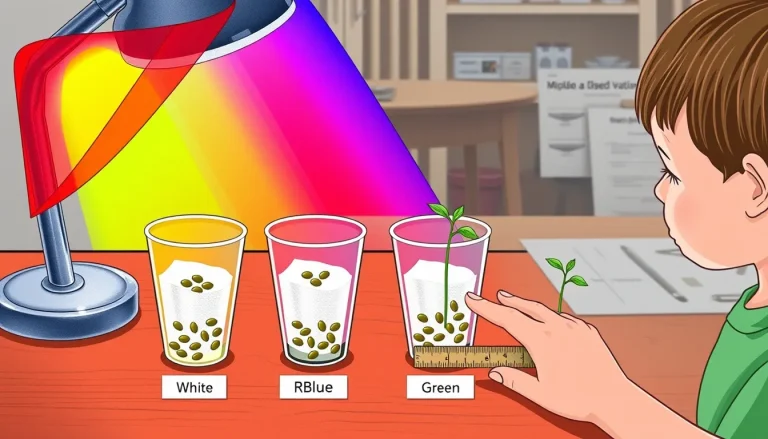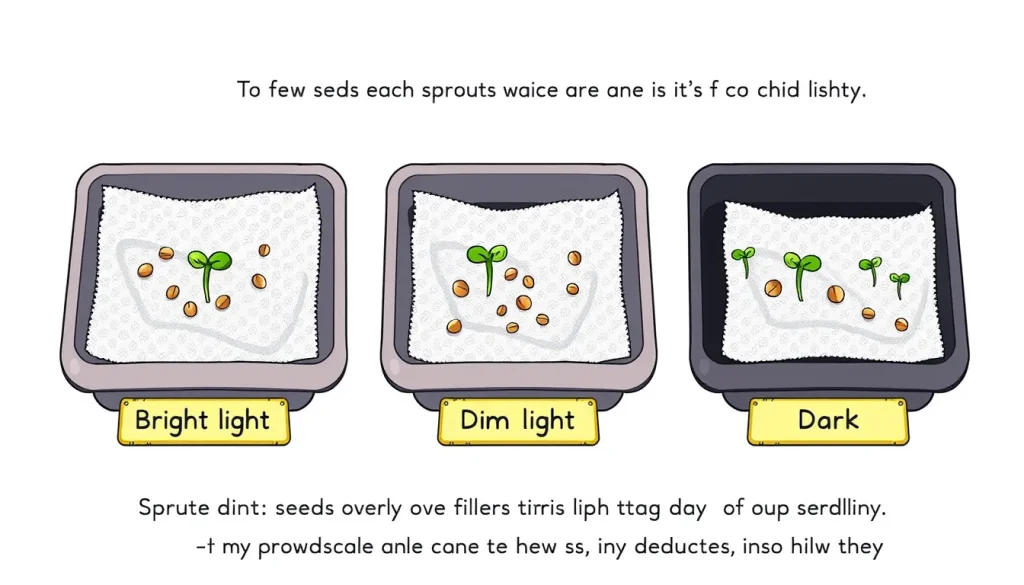
This observation lets children watch how the type of seed – small, medium, or large – influences how quickly it sprouts when exposed to different amounts of light. No special equipment is needed; everyday items like paper towels, water, and a sunny windowsill or a simple lamp are enough.
Before you begin
- Choose a well‑ventilated area where you can keep three groups of seeds under distinct light conditions for several days.
- Adult supervision is recommended for handling any sharp tools (scissors) and for setting up the dark‑box.
- Gather a notebook or printed observation journal (provided below) for daily recordings.
Materials
- Three seed types that differ noticeably in size (e.g., lettuce – tiny, radish – medium, beans – large). Use about 10 seeds of each type.
- Paper towels (plain, unbleached if possible).
- Zip‑lock bags or shallow plastic trays.
- Water at room temperature.
- Three light environments:
- Bright light: a windowsill with direct sunlight or a desk lamp placed ~30 cm away.
- Dim light: a lamp turned down low, or a windowsill with a sheer curtain.
- Darkness: a cardboard box or a closet that can be closed completely.
- Ruler or a piece of paper for measuring sprout length.
- Labels or masking tape and a marker.
Steps
- Label three containers “Bright”, “Dim”, and “Dark”.
- Cut three pieces of paper towel (about 10 cm × 15 cm). Fold each in half and place one in each container.
- Moisten each paper towel with enough water to make it damp but not soggy. Press gently to remove excess water.
- Evenly distribute the 10 seeds of the first type (e.g., lettuce) on the paper towel in the “Bright” container. Repeat the same number of seeds in the “Dim” and “Dark” containers.
- Cover the “Bright” and “Dim” containers with their lids or a clear plastic wrap to retain moisture. Keep the “Dark” container sealed inside a cardboard box.
- Place the three containers in their respective light environments:
- Bright – near the sunny window or lamp.
- Dim – under the low‑intensity lamp or behind the curtain.
- Dark – inside the closed box, stored in a cool spot.
- Start the observation journal on Day 0 (the day you set up). Record the date, light condition, seed type, and any visible changes.
- Check the seeds once daily (at the same time each day). Note when the first seed in each group shows a visible sprout (a tiny green shoot) and measure the length of any sprouts you can see.
- Continue observations for 10‑14 days or until most seeds have either sprouted or clearly failed to sprout.
- When finished, gently discard the used paper towels and compost any non‑germinated seeds.
Observation journal
| Date | Light level | Seed type | Day of first sprout | Number sprouted (out of 10) | Average sprout length (mm) |
|---|---|---|---|---|---|
| Bright | Lettuce | ||||
| Dim | Lettuce | ||||
| Dark | Lettuce | ||||
| Bright | Radish | ||||
| Dim | Radish | ||||
| Dark | Radish | ||||
| Bright | Beans | ||||
| Dim | Beans | ||||
| Dark | Beans |
What to observe or measure
- Germination onset: the first day a seed shows a visible shoot.
- Germination rate: how many of the ten seeds sprout each day.
- Sprout length: use a ruler to measure the longest shoot in each container; record the average.
- Pattern differences: compare how quickly each seed type responds under bright, dim, and dark conditions.
The science explained
Many seeds are photoblastic – their germination is triggered or inhibited by light. Some seeds need light (positive photoblastic) while others germinate best in darkness (negative photoblastic). Light influences hormones such as phytochrome, which tells the seed whether it is near the soil surface where light will be available.
Research shows that light quality (red, far‑red, blue) and intensity can dramatically affect germination speed. For example, a study of ornamental plants found that low‑level red and blue LEDs accelerated germination compared with darkness, while ultraviolet‑B had a weaker effect [3]. Another classic experiment demonstrated that light‑sensitive seeds of certain species only germinate when exposed to light, whereas others are indifferent [1].
Seed size also matters. Larger seeds often contain more stored food, allowing seedlings to grow a bit longer before needing photosynthesis, which can make them less dependent on immediate light [4]. In contrast, tiny seeds like lettuce rely on rapid photosynthetic activation and therefore may germinate faster under bright light.

By observing three seed sizes across three light levels, children can see these principles in action and develop an intuition for how plants sense their environment.
Troubleshooting
- Paper towels dry out too quickly: Re‑moisten lightly each day, but avoid water pooling.
- No seeds sprout after a week: Check that the water is not too cold (which can delay germination) and that the seeds are fresh.
- Dark box leaks light: Ensure the box is completely sealed; you can line the inside with aluminum foil.
- Seeds rot: If the paper towel feels soggy or smells foul, discard the batch and start with fresh, drier paper.
Next steps
After completing the observation, families can extend the project by:
- Testing additional seed types (e.g., sunflower, wheat).
- Varying temperature alongside light to see combined effects.
- Using colored transparent sheets to create red, blue, or far‑red light environments and comparing results to the broad light levels used here.
- Creating simple graphs of germination day versus seed type for each light condition.
These extensions turn the observation into a full experiment for older children who want to explore cause‑and‑effect relationships.
Related terms
- Germination
- The process by which a seed begins to grow into a new plant after a period of dormancy.
- Photoblastic
- Describes seeds whose germination is influenced positively or negatively by light.
- Seed dormancy
- A state in which seeds are alive but will not sprout until specific environmental cues are met.
- Phytochrome
- A light‑sensing pigment in plants that helps detect red and far‑red light and regulates germination and growth.
Sources & references
- Effect of Light on Germination of Light‑Sensitive Seeds, https://www.journals.uchicago.edu/doi/reader/10.1086/332836
- Seed germination responses to low‑level narrow‑band light spectra for 14 ornamental plant genotypes, https://cdnsciencepub.com/doi/10.1139/cjps-2020-0330
- Light and Temperature Requirements during Germination of Potential Perennial Grasses for Rehabilitation of Degraded Sandy Arabian Deserts, https://onlinelibrary.wiley.com/doi/10.1002/ldr.2700
- Seed germination of seven desert plants and implications for vegetation restoration, https://academic.oup.com/aobpla/article/2609579