Overview
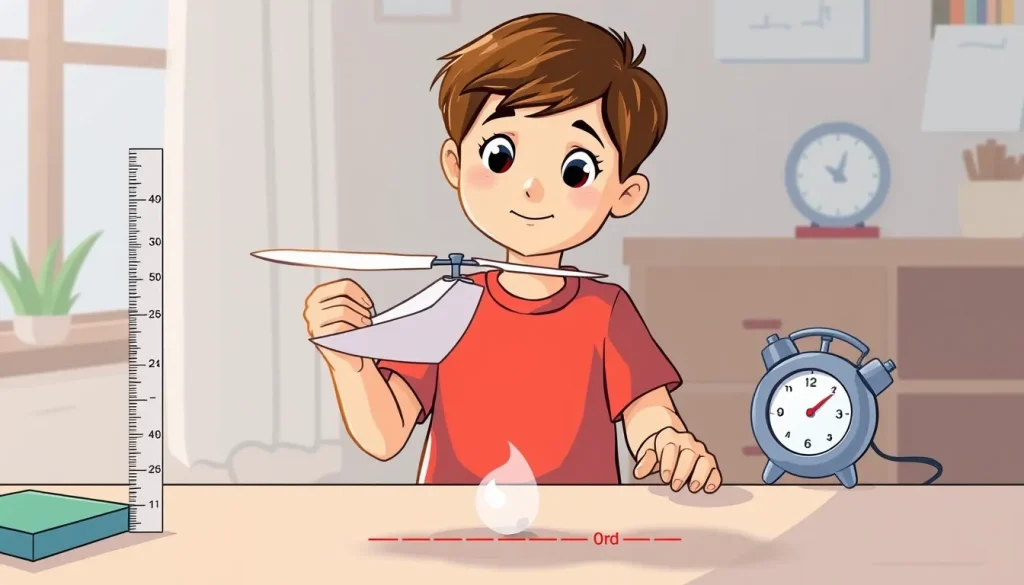
A paper helicopter is a simple model that spins as it falls, using the same principles that keep a real helicopter’s rotors aloft. By changing the length of the rotor blades, we can see how the blade size influences the time the helicopter stays in the air. This activity is an experiment that lets children measure a concrete outcome (fall time) while keeping all other factors the same.
Before you begin
- Choose a well‑ventilated indoor space with a high ceiling or a sturdy table from which you can drop the helicopters safely.
- Gather a stopwatch (a phone timer works) and a ruler or measuring tape.
- Set up a simple data‑record sheet (provided in the Data Table section) for each rotor length.
- Adult supervision is recommended for cutting paper and using scissors.
Materials
- Standard A4 or Letter‑size printer paper (80 g/m² works well) – at least 2 sheets.
- Scissors.
- 2 small paperclips (to hold the rotor hub together).
- Ruler or tape measure (centimetre marks).
- Stopwatch or phone timer.
- Masking tape or a small piece of clear tape (optional, to secure the hub).
All of these items are commonly found at home or in a classroom.
Testable question
How does the length of the rotor blades affect the time a paper helicopter takes to fall from a fixed height?
Hypothesis
Longer rotor blades increase the surface area that pushes against air, creating more lift and slowing the descent. Therefore, the hypothesis is that helicopters with longer blades will have a longer fall time than those with shorter blades.
Variables and controls
| Variable type | What it is |
|---|---|
| Independent variable | Rotor blade length (measured in centimetres) |
| Dependent variable | Fall time (seconds) measured from release to ground contact |
| Controlled variables |
|
Procedure (Steps)
- Print or draw two helicopter templates: one with a short rotor (e.g., 3 cm) and one with a long rotor (e.g., 6 cm). The NASA “Out for a Spin” activity provides a ready‑made template that can be resized by cutting the wing extensions [1].
- Cut out the two helicopter shapes carefully along the solid lines. Do NOT cut the dashed fold lines.
- Fold the flaps labelled X and Y toward the back as shown in the template, making crisp creases.
- Insert a paperclip through the centre hole of each helicopter to hold the two rotor halves together. If the hub feels loose, add a tiny piece of tape.
- Measure the total rotor span (from tip to tip) with the ruler and record the length in centimetres on your data sheet.
- Mark a drop point on a table or use a piece of masking tape on the floor to indicate the exact release spot. Measure the vertical distance from the release point to the floor (recommended 150 cm) and write it down – this height will stay the same for every trial.
- Hold the helicopter gently by the hub, keep the rotor blades horizontal, and release it without pushing it sideways. Start the stopwatch the moment you let go.
- Stop the timer when the helicopter first touches the floor. Record the time to the nearest tenth of a second.
- Repeat steps 7–8 for the same rotor length at least three times, recording each trial.
- Swap to the helicopter with the other rotor length and repeat steps 7–9.
- Optionally, create additional rotor lengths (e.g., 4 cm, 5 cm) by trimming the blades in small increments to explore a broader range.
- When all trials are complete, calculate the average fall time for each rotor length.
What to observe and measure
- Fall time – measured with a stopwatch from release to ground contact.
- Rotor stability – note whether the helicopter wobbles, spins straight, or flips over. This qualitative note helps explain out‑lier times.
- Blade condition – check for bends or tears after each set of trials; damaged blades can change results.
Repeated trials
Perform at least three trials for each rotor length. Multiple trials reduce the impact of random timing error (human reaction time) and give a sense of natural variation. If the times vary widely, you may add two more trials to improve confidence.
Data table
| Rotor length (cm) | Trial # | Fall time (s) |
|---|---|---|
| 1 | ||
| 2 | ||
| 3 | ||
| 1 | ||
| 2 | ||
| 3 |
Leave the first column blank for each rotor length you test. Fill in the times after each trial.
Graphing your results
Plot a simple bar chart or scatter plot with Rotor length (cm) on the horizontal axis and Average fall time (s) on the vertical axis. Each bar (or point) represents the mean of the trials for that length. Adding error bars (range of the three trials) helps visualize variability.
The science explained
When a paper helicopter falls, its rotor blades act like tiny airfoils. As the helicopter descends, air pushes upward against the blades. The upward force (called lift) opposes gravity. Lift grows with the surface area that contacts the air – a longer blade presents a larger area, so it can generate more lift at the same descent speed.
At the same time, the blades also create drag, a force that resists motion through air. Drag increases with both blade area and the speed at which the helicopter moves. The balance between lift, drag, and gravity determines the terminal velocity – the constant speed reached when forces balance. With longer blades, lift increases faster than the extra drag, so the helicopter reaches a lower terminal velocity and stays aloft longer.
This principle is why NASA’s Mars helicopter Ingenuity has unusually large rotors for the thin Martian atmosphere; the larger blades compensate for the lower air density [1]. In our classroom model, the same idea is observable on a much smaller scale.
It is important to note that the paper helicopter is a model. It does not replicate the engine power, pitch control, or complex aerodynamics of a real helicopter. The experiment only shows how blade size influences the simple interaction of gravity and air resistance.
Troubleshooting
- Inconsistent timing: If your times vary widely, practice a smooth release and start the stopwatch at the exact moment of release. Using a video recording and frame‑by‑frame analysis can improve accuracy.
- Helicopter flips or stalls: Check that the blades are symmetrical and not bent. Unequal blade length creates a torque that can cause the craft to tumble.
- Air drafts: Conduct the experiment away from open windows or fans. Even a slight breeze can add or subtract to the fall time.
- Paper tears: Use fresh sheets for each rotor length. A torn blade reduces surface area and skews results.
Cleanup and disposal
Collect all paper scraps and recycle them. Paperclips can be reused for future builds or placed in a recycling bin for metal. Store scissors safely out of reach of younger children.
Next steps
After confirming that longer blades fall more slowly, try varying another factor – such as blade width, overall helicopter weight (add a paperclip or small piece of tape), or the shape of the blade edges. Each new variable opens a fresh investigation into the physics of falling objects.
Related terms
- Rotor
- The rotating blades of a helicopter that push air downward to generate lift.
- Lift
- An upward force created by air moving over a surface, opposing gravity.
- Drag
- A resistance force that opposes an object’s motion through a fluid such as air.
- Terminal velocity
- The constant speed reached when the upward forces (lift and drag) balance the downward force of gravity.
Sources & references
- NASA, "Out for a Spin" (2020). https://www.nasa.gov/wp-content/uploads/2020/07/out-for-a-spin.pdf
- Scoilnet, "Worksheets 05¥" (Curriculum activity on rotor size). https://www.scoilnet.ie/uploads/resources/34294/34045.pdf