Orientation
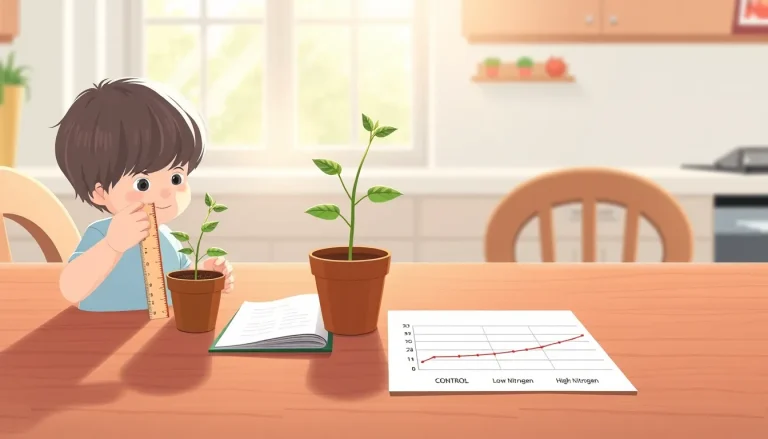
When children design an experiment, the most common source of error is changing more than one factor at a time. A well‑structured checklist forces the young scientist to pause, decide exactly what will be altered, what will be measured, and what must stay the same. The result is a fair test—an experiment that isolates cause and effect.
Why a Checklist Matters
Science education frameworks for Key Stage 2 (ages 7‑11) stress the need to plan experiments deliberately, naming variables and keeping everything else constant [1]. A checklist turns that abstract advice into concrete actions. It also gives parents and teachers a quick way to review a child’s plan before the experiment begins.
Key Terminology
Understanding the three main types of variables is the foundation of the checklist.
- Independent variable (IV): the factor the experimenter deliberately changes. It is the “cause” in a cause‑and‑effect relationship.
- Dependent variable (DV): the outcome that is observed or measured. It “depends” on the IV.
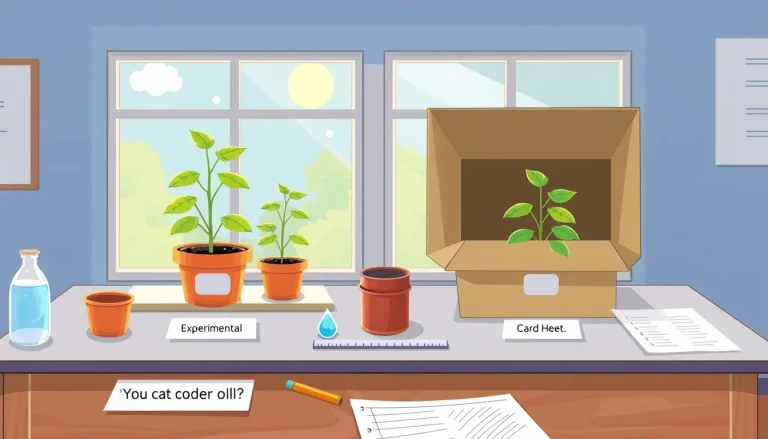
- Controlled variables (CV): all other factors that could influence the DV and therefore must be kept the same for every trial.
These definitions are consistent across primary‑level curricula and science‑fair guidance [2].

Designing the Checklist
Below is a step‑by‑step process for building a printable checklist. Each step mirrors a point on the official Science Olympiad experimental‑design rubric, which scores variables and controls separately [3].
- State the problem. Write a short, open‑ended question that does not imply a yes/no answer (e.g., “How does wing length affect the fall time of a paper helicopter?”). This ensures the question can accommodate multiple levels of the IV.
- Identify the independent variable. Name the factor you will change and list the specific levels (e.g., short, medium, long wings).
- Identify the dependent variable. State what you will measure, the units, and the method (e.g., time to reach the floor, measured with a stopwatch in seconds).
- List at least three controlled variables. For each, note why it must stay constant and how you will keep it constant (e.g., type of paper, number of paperclips, drop height).
- Define constants. Distinguish a constant from a controlled variable when it is a single, unchanging condition (e.g., indoor temperature).
- Materials. List every item needed, with quantities, so the experiment can be reproduced.
- Procedure outline. Provide a brief numbered list of actions, emphasizing the need to repeat the same steps for each IV level.
- Trial count. Decide how many repetitions per level you will perform (usually 3–5) and note this in the checklist.
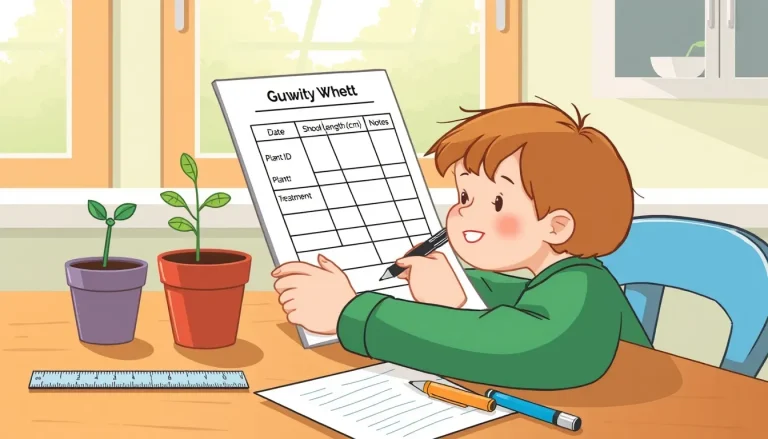
- Data‑recording table. Include column headings for trial number, IV level, DV measurement, and any observations.
- Safety and cleanup. Note any protective equipment (e.g., safety glasses) and disposal instructions for waste.
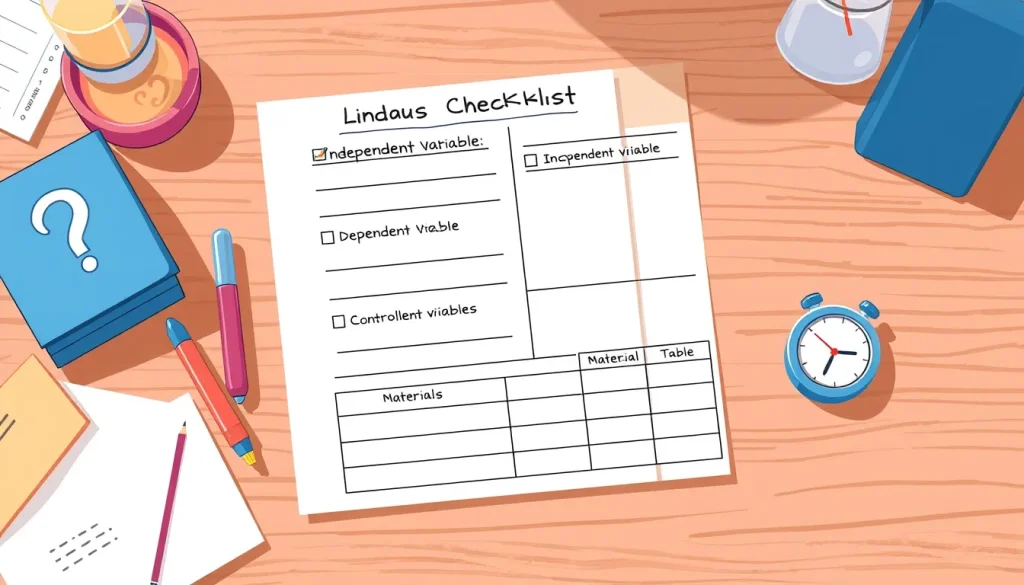
Printable Variable Checklist
| Section | Details (to be filled in) |
|---|---|
| Problem Statement | |
| Independent Variable (IV) – What changes? | |
| IV Levels | |
| Dependent Variable (DV) – What is measured? | |
| Controlled Variables (CV) – What stays the same? | |
| Constants | |
| Materials | |
| Procedure Summary | |
| Number of Trials per IV Level | |
| Data Table (see template below) | |
| Safety & Cleanup Notes |
Print one copy per group of students, or provide a digital version they can fill in.
Worked Example: Paper Helicopter Fall‑Time Test
This classic activity illustrates how the checklist works in practice. The video transcript on BBC Bitesize describes the experiment and highlights the variables involved [1].
- Problem Statement: How does wing length affect the time a paper helicopter takes to fall?
- Independent Variable: Wing length – three levels: 5 cm (short), 7 cm (medium), 9 cm (long).
- Dependent Variable: Fall time measured with a stopwatch, recorded in seconds.
- Controlled Variables:
- Paper type (standard A4 printer paper).
- Number of paperclips attached (one per helicopter).
- Drop height (hand held at 1 m above the floor).
- Constant: Indoor room temperature (approximately 20 °C) – kept the same for all trials.
- Materials: A4 paper, scissors, ruler, paperclips, stopwatch, tape measure.
- Procedure Summary:
- Cut three helicopters with the specified wing lengths.
- Attach one paperclip to each.
- Measure a drop height of 1 m using the tape measure.
- Hold all three helicopters at the same height and release them simultaneously.
- Start the stopwatch at release and stop when the last helicopter touches the floor.
- Record the time for each helicopter.
- Repeat steps 3‑6 three times for each wing length.
After completing the experiment, children fill the data table, calculate average fall times for each wing length, and draw a simple bar graph. The clear separation of IV, DV, and CV makes it easy to see why longer wings slowed the descent.
Using the Checklist in the Classroom or at Home
1. Introduce the checklist. Show a completed example (like the paper‑helicopter case) and discuss each row.
2. Let children draft their own problem statements. Encourage them to avoid yes/no wording, which would limit the need for a variable.
3. Guide them through identifying IV, DV, and CV. Use prompting questions: “What are you changing?”, “What will you measure?”, “What could accidentally change your measurement?”
4. Complete the materials and safety sections together. This ensures that any missing items are spotted early.
5. Fill the data‑recording table after each trial. Consistency in trial numbering helps when comparing results later.
6. Review the checklist before analysis. A quick glance can reveal forgotten controls or uneven trial numbers.
Troubleshooting Common Mistakes
- Changing more than one variable. If a child alters both wing length and paper weight, the checklist will show two entries under “Independent Variable.” Remind them to keep only one IV per experiment.
- Missing a controlled variable. When the data are scattered, look for uncontrolled factors such as varying drop height. Add that factor to the CV list and repeat the test.
- Inconsistent measurement technique. If stopwatches are started at slightly different times, record the start‑delay as an observation and aim for a more precise method (e.g., use a drop‑release latch).
- Insufficient trials. Too few repetitions can make random error look like a pattern. The checklist prompts the user to decide on a trial count before starting.
Extending the Checklist
Once children are comfortable with a basic checklist, they can add optional sections:
- Hypothesis field. Write a short prediction that links the IV to the DV.
- Rationale. Explain why the hypothesis makes sense based on prior knowledge.
- Graphing plan. Sketch the axes they intend to use (IV on the x‑axis, DV on the y‑axis).
- Reflection. After analysis, note what worked, what didn’t, and possible next questions.
These additions turn the checklist into a full scientific‑method worksheet, useful for science fairs or report writing.
Conclusion
A simple, printable checklist empowers children aged 6‑14 to design fair, repeatable experiments. By explicitly naming the independent, dependent, and controlled variables, the checklist reduces common errors and builds confidence in the scientific process. Use the template provided, adapt it to any topic, and watch young investigators thrive.
Related terms
- Independent variable
- The factor that the experimenter deliberately changes to test its effect.
- Dependent variable
- The outcome measured in the experiment; it changes in response to the independent variable.
- Controlled variable
- Any factor that could influence the outcome and therefore must be kept the same for all trials.
Sources & references
- BBC Bitesize – Planning experiments and variables – https://www.bbc.co.uk/bitesize/articles/zssccmn
- Science Buddies – Variables in Your Science Fair Project – https://www.sciencebuddies.org/Files/710/4/SciF_Project_Guide_Variables.pdf
- Science Olympiad – Experimental Design Checklist (2024) – https://www.soinc.org/sites/default/files/uploaded_files/XPD.B.Checklist.24.pdf