Overview
Paper airplanes are a classic classroom favorite because they use everyday materials and visible physics. In this experiment you will build three versions of the same airplane, each with a different wing camber (the curvature of the wing cross‑section). By launching each design under the same conditions and measuring how far it flies, you will answer the question: Which wing camber produces the longest flight?
Testable Question
How does the amount of wing camber (flat, moderate, high) affect the horizontal distance a paper airplane travels when thrown with the same speed and angle?
Hypothesis
Because camber increases the speed of airflow over the top surface, a moderate amount of camber should generate more lift without adding excessive drag, resulting in the longest flight. A completely flat wing will produce little lift, and a very high camber will create extra drag that shortens the flight.
Materials
- Standard printer paper (A4 or Letter, 80 g/m²). You will need at least 6 sheets.
- Ruler (15 cm or longer) – for measuring camber depth.
- Pencil or fine‑tip marker – to mark fold lines.
- Scissors (optional, for trimming tips).
- Measuring tape or long ruler (at least 2 m) – to record flight distance.
- Open indoor space (e.g., gymnasium or hallway) with minimal drafts.
- Notebook or worksheet for data recording (see blank data table below).
- Stopwatch (optional, for flight‑time measurement).
Before You Begin
- Clear a 3 m‑wide lane on the floor. Mark a start line with tape.
- Choose a consistent throwing stance: stand with the back foot at the start line, arm extended forward, and release the plane at about a 15° upward angle.
- Practice a single “baseline” throw with a plain folded plane to get a repeatable hand speed (roughly 11 m/s as reported for a typical A4 dart [2]).
- Ask an adult to help supervise the space and ensure no one walks through the flight lane.
Variables and Controls
- Independent variable: Wing camber (flat, moderate, high).
- Dependent variable: Horizontal flight distance (centimetres) measured from the start line to the point where the plane first touches the floor.
- Controlled variables: Paper type and size, airplane overall shape (same base design), throw angle, hand speed, indoor environment, and measurement method.
Steps
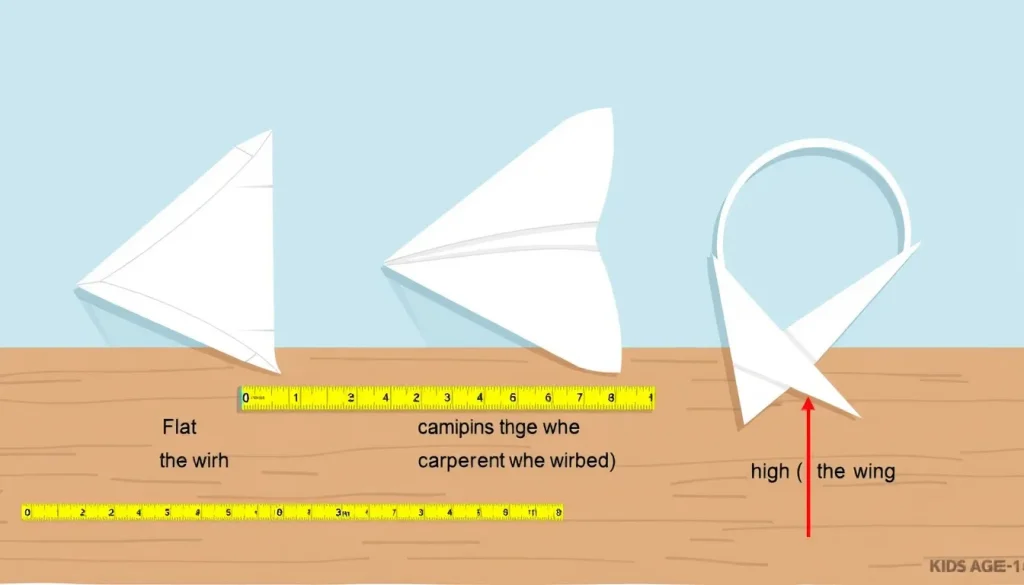
- Choose a base design. Use a simple “dart” model that folds a nose, two side folds, and a final wing fold. The design should be identical for all three camber versions.
- Build the flat‑camber plane.
- Fold the wing panels flat (no upward bend). Use the ruler to ensure the wing edge is straight.
- Label this plane “Flat”.
- Build the moderate‑camber plane.
- After completing the flat wing, gently bend the trailing edge upward so the wing surface forms a shallow curve. Aim for a camber depth of about 2 mm measured at the midpoint of the wing (use the ruler to check).
- Label this plane “Moderate”.
- Build the high‑camber plane.
- Repeat the same bend but increase the curvature so the camber depth is about 5 mm at the midpoint. The wing should look noticeably “arched”.
- Label this plane “High”.
- Perform test throws.
- Stand at the start line, hold the plane with the fingertip at the nose, and throw using the same arm motion for each trial.
- Record the distance from the start line to where the plane first contacts the floor.
- Optional: use a stopwatch to record flight time for extra analysis.
- Repeat trials. Do at least 5 throws for each camber type, alternating the order (e.g., Flat, Moderate, High, Flat, …) to reduce fatigue effects.
- Record data. Use the table below to note each trial’s distance and any qualitative observations (e.g., “wobbly”, “steady glide”).
- Analyze. Calculate the average distance for each camber, compare them, and create a simple bar graph.
What to Observe or Measure
- Flight distance (cm): Measured with the tape from start line to landing point.
- Flight behavior: Note if the plane stalls, dives, or glides smoothly.
- Optional – Flight time (seconds): Use a stopwatch to time from release to landing.
Repeated Trials
Repeating each camber at least five times helps average out random variations in hand speed and slight differences in fold accuracy. More trials improve confidence in the result, but five is a manageable number for a classroom or home setting.

Data Table
| Trial | Camber Type | Distance (cm) | Notes |
|---|---|---|---|
| 1 | Flat | ||
| 2 | Moderate | ||
| 3 | High | ||
| 4 | Flat | ||
| 5 | Moderate | ||
| 6 | High | ||
| 7 | Flat | ||
| 8 | Moderate | ||
| 9 | High | ||
| 10 | Flat | ||
| 11 | Moderate | ||
| 12 | High | ||
| 13 | Flat | ||
| 14 | Moderate | ||
| 15 | High |
Graphing Your Results
Create a simple bar chart:
- X‑axis: Camber type (Flat, Moderate, High).
- Y‑axis: Average flight distance (cm).
- Plot each bar with the average distance; add error bars showing the range of your trials if desired.
- Interpret the graph: the highest bar indicates the camber that produced the longest average flight.
The Science Explained
The shape of a wing determines how air moves around it. When a wing is curved (cambered), the upper surface is longer than the lower surface, causing air to travel faster over the top. According to Bernoulli’s principle, faster airflow creates lower pressure, while the slower airflow below creates higher pressure. The pressure difference generates lift, which keeps the airplane aloft.
However, too much camber can increase the wing’s surface area and cause extra air resistance, or drag, which slows the plane down. A flat wing produces little lift, so it falls quickly. The moderate camber strikes a balance: enough curvature to create lift but not so much that drag overwhelms the forward thrust from the throw.
Research on wing shape in paper‑airplane projects supports this idea. A 2026 science‑fair study found that larger camber and surface area generally improve flight distance because they increase lift, but the authors warned that excessive curvature can reduce stability [3]. Another study linked the wing’s aspect ratio (span² divided by wing area) to descent rate, showing that geometry matters for glide performance [4]. In our experiment the planform (span and area) stays constant; only camber changes, letting us isolate its effect.
In real aircraft, designers fine‑tune camber to meet speed and fuel‑efficiency goals. Paper airplanes give children a tangible way to see the same physics at work.
Troubleshooting
- Inconsistent throws: If distances vary wildly, practice the throwing motion until you can repeat the same speed and angle.
- Uneven folds: Use a ruler or a flat edge to crease each fold sharply. Small differences in wing angle can change lift dramatically.
- Drafts or hallway traffic: Perform the experiment in a closed room or gym where air currents are minimal. Even a gentle breeze can shorten flights.
- Plane crashes early: Check that the nose is not too heavy (extra layers at the tip add weight). If needed, trim a tiny piece from the nose tip.
Try Another Version
Once you have identified the best camber, explore how wing span (aspect ratio) interacts with camber. Build a second set of planes with longer wings but the same camber depths, and repeat the experiment. This extension connects to the aspect‑ratio research in source [4] and shows how multiple design variables work together.
Cleanup and Disposal
Paper planes are reusable. Store folded models in a zip‑lock bag to keep them from getting creased. If a plane tears, recycle the paper with household paper recycling.
Related terms
- Camber
- The curvature of a wing’s cross‑section; a cambered wing is thicker on the top side than the bottom.
- Lift
- An upward force created when air moves faster over the top of a wing than underneath, lowering pressure above the wing.
- Drag
- Air resistance that opposes forward motion; higher drag reduces flight distance.
- Aspect Ratio
- Ratio of wing span squared to wing area; higher aspect ratio usually means slower descent for gliders.