Orientation
Radishes (Raphanus sativus) are fast‑growing, cool‑season vegetables that are ideal for classroom or home garden projects. Because they mature in 3‑5 weeks, they let children see results quickly. One key factor that gardeners adjust is plant spacing – how far apart each seed is planted. Scientific studies have shown that wider spacing can increase root length and plant height, while crowding often produces smaller, misshapen roots [3][4]. This experiment lets children test those ideas themselves.
Before You Begin
- Choose a sunny window sill or a spot that receives at least 4–6 hours of light per day.
- Gather a clean workspace and have an adult help with cutting cardboard and mixing soil.
- Plan for a total observation period of about 4 weeks, checking the plants every 2–3 days.
Materials
- Radish seeds (any common variety such as ‘Cherry Belle’ or ‘Champion’) – Seeds
- Cardboard trays or shallow boxes (cut to three different widths: 10 cm, 15 cm, and 20 cm) – Cardboard
- Plain paper for labeling each tray – Paper
- Potting mix or garden soil, well‑drained and enriched with compost
- Measuring cup or small watering can
- Ruler or measuring tape (centimetres)
- Permanent marker
- Notebook or worksheet for recording data
- Water – Water
Testable Question
How does the spacing between radish seedlings affect the length of the edible root after four weeks of growth?
Hypothesis
If radish seedlings are spaced farther apart, then each plant will have more room to develop, resulting in longer roots compared with seedlings that are planted close together.
Variables and Controls
| Variable | What it is |
|---|---|
| Independent variable | Spacing between seeds (10 cm, 15 cm, 20 cm rows) |
| Dependent variable | Root length measured in centimetres after four weeks |
| Controlled variables | Seed variety, soil type, amount of water, light exposure, temperature, planting depth (½ in), and date of sowing |
Steps
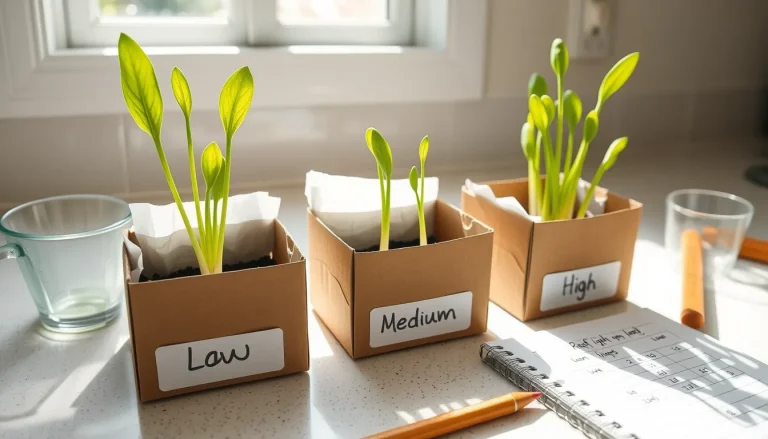
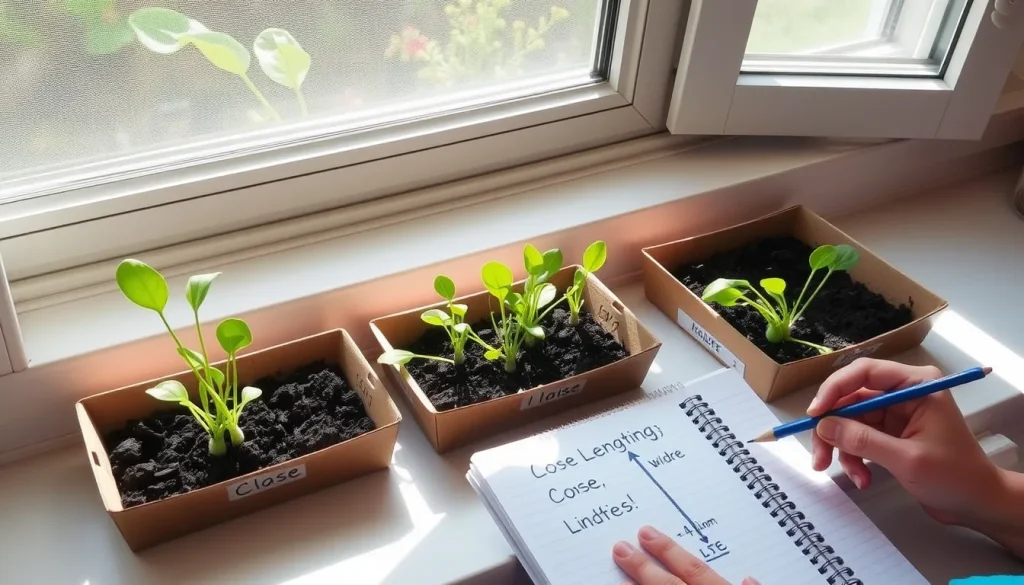
- Prepare the trays. Cut three cardboard trays to the same depth (about 5 cm) but different widths: 10 cm, 15 cm, and 20 cm. Label each with “Close”, “Medium”, and “Wide”.
- Fill with soil. Add potting mix to each tray, leaving a 1 cm margin at the top. Lightly tamp to remove large air pockets.
- Sow the seeds. For each tray, make a shallow furrow (½ in deep) along the centre line. Plant seeds at the designated spacing:
- Close spacing: 2 cm between seeds.
- Medium spacing: 5 cm between seeds.
- Wide spacing: 8 cm between seeds.
Cover lightly with soil.
- Water gently. Use a watering can to moisten the soil evenly, avoiding runoff. Keep the soil consistently moist but not soggy throughout the experiment.
- Place trays in the light. Position all three trays side‑by‑side so they receive the same amount of sunlight.
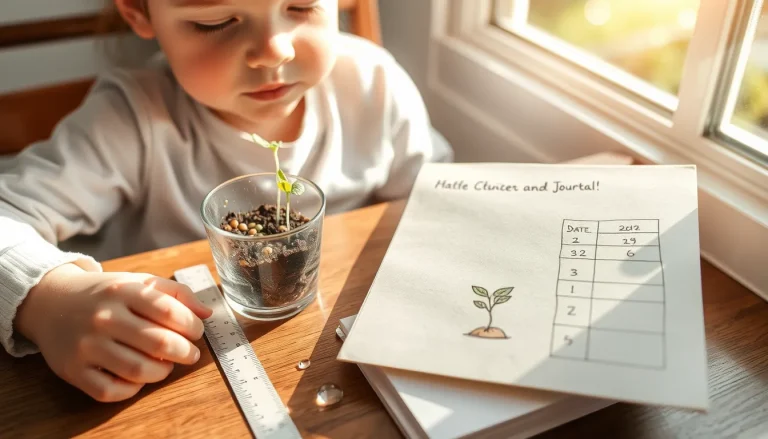
- Record observations. Every 2–3 days, note germination date, leaf number, and any signs of crowding (yellowing, stunted growth). Use the data table below.
- Harvest. After 28 days (or when the radish tops are about 6 cm tall), gently pull each radish out, wash off soil, and measure root length from tip to base with a ruler.
- Clean up. Dispose of any unused soil in compost, recycle cardboard, and wash tools.
What to Observe or Measure
- Germination day – the first day a seed sprouts.
- Leaf count – number of true leaves per plant at each observation.
- Root length – measured in centimetres at harvest.
- Plant health notes – any signs of disease, discoloration, or wilting.
Repeated Trials
To see how consistent the effect of spacing is, repeat the whole set‑up at least once more (a total of two trials). Use the same seed batch and environmental conditions. Comparing results across trials shows natural variation and strengthens conclusions.
Data Table (blank for recording)
| Trial | Spacing (cm) | Plant # | Germination Day | Leaf Count (Day 14) | Root Length (cm) |
|---|---|---|---|---|---|
| 1 | 2 (Close) | 1 | |||
| 1 | 2 (Close) | 2 | |||
| 1 | 5 (Medium) | 1 | |||
| 1 | 5 (Medium) | 2 | |||
| 1 | 8 (Wide) | 1 | |||
| 1 | 8 (Wide) | 2 |
Graphing Your Results
After averaging root lengths for each spacing treatment, create a simple bar graph:
- X‑axis: Spacing category (Close, Medium, Wide).
- Y‑axis: Average root length (cm).
- Each bar shows the mean of the recorded roots; error bars can represent the range or standard deviation.
Bar graphs make it easy to see whether wider spacing produced longer roots, directly answering the testable question.
Science Explained
Plants need space for roots to spread and for leaves to capture sunlight without shading each other. When seedlings are too close, they compete for water, nutrients, and light, which often limits root elongation and can cause misshapen vegetables. Research from Bangladesh and Nepal found that increasing row spacing from 20 cm × 30 cm to 40 cm × 30 cm raised plant height and root length significantly [3][4]. In radishes, the edible part is the taproot, so giving each plant room to grow underground is especially important.
Cool‑season conditions (temperatures between 10 °C–18 °C) also favor radish growth, so conducting the experiment in early spring or fall helps ensure consistent results [1][2]. Maintaining even moisture prevents stress that could mask spacing effects.
Troubleshooting
- Seeds did not germinate. Check that the soil is kept moist and that the temperature is within the cool‑season range. Try sowing a fresh batch of seeds.
- Plants look yellow or stunted. This may indicate crowding beyond the intended spacing, or uneven watering. Ensure each tray receives the same amount of water each day.
- Roots are broken when pulling. Loosen the soil around the plant before harvesting with a small fork or spoon.
Cleanup and Disposal
Discard any unused soil in a compost bin if available; otherwise, spread it in a garden area away from water sources. Recycle the cardboard trays or reuse them for another planting project. Wash tools with soap and water, then store them for future use.
Next Steps
Children can extend the investigation by testing other variables such as:
- Different soil types (sand vs. loam).
- Varying watering frequency.
- Planting radishes at different times of the year to see how temperature interacts with spacing.
These extensions turn the simple experiment into a broader garden‑science study.
Related terms
- Plant spacing
- The distance between individual plants, which influences competition for light, water, and nutrients.
- Germination
- The process by which a seed sprouts and begins to grow into a seedling.
- Taproot
- A central, dominant root that grows straight down; in radishes, this is the edible part.
- Cool‑season crop
- A plant that grows best in cooler temperatures, typically in spring or autumn.