Orientation – What You’ll Explore
This activity lets families or classrooms investigate a real‑world engineering question: How does the thickness of corrugated cardboard influence the amount of weight a boat can support before sinking? Using everyday cardboard, contact cement, tape, and a simple waterproof coating, children will design, build, and test three small boats. The challenge ties directly to the proven design described in The Cardboard Boat Book, which shows that a single 1/4‑inch double‑wall sheet can support a 250‑lb adult when built into an 8‑ft kayak‑style hull [1]. By scaling the design down and varying thickness, learners see the physics of bending stiffness, water displacement, and material strength.
Before You Begin – Planning & Safety
- Age range: 6–14 (younger children need close adult supervision for cutting and sealing).
- Workspace: A large, dry table covered with a plastic sheet or newspaper. Keep the area well‑ventilated if you use a paraffin‑wax seal.
- Time estimate: 2 hours of building, plus 30 minutes for testing.
- Safety notes: Use child‑safe scissors or a utility knife with adult help. Wear gloves when handling hot wax or liquid sealants.
Materials
| Item | Quantity | Notes |
|---|---|---|
| Corrugated cardboard sheets | 3 sets | One set of 1/8‑inch (single‑wall), one set of 1/4‑inch (double‑wall, 275‑lb test), one set of 1/2‑inch (two layers glued together) |
| Contact cement | 1 small bottle | Eco‑friendly, dries clear |
| Paper drywall tape | 1 roll (≈ 30 m) | For reinforcing seams |
| Waterproof coating | Paraffin wax or water‑based sealant | Paraffin wax works well but requires heating; a water‑based acrylic sealer is an easier alternative |
| Utility knife or heavy‑duty scissors | 1 | Adult only for cutting |
| Ruler or measuring tape | 1 | Mark dimensions accurately |
| Weight set for testing | ~5 kg (10 lb) of sand, water bottles, or small dumbbells | Incremental loading |
| Large shallow tub or small kiddie pool | 1 | Filled with water for float tests |
| Pen or marker | 1 | Label each boat |
Steps – Build Three Boats of Different Thickness
- Design a simple hull. Draw a rectangle 30 cm long, 15 cm wide, and 5 cm high on a piece of cardboard. This will be the side wall pattern. The bottom will be a separate 30 cm × 15 cm panel.
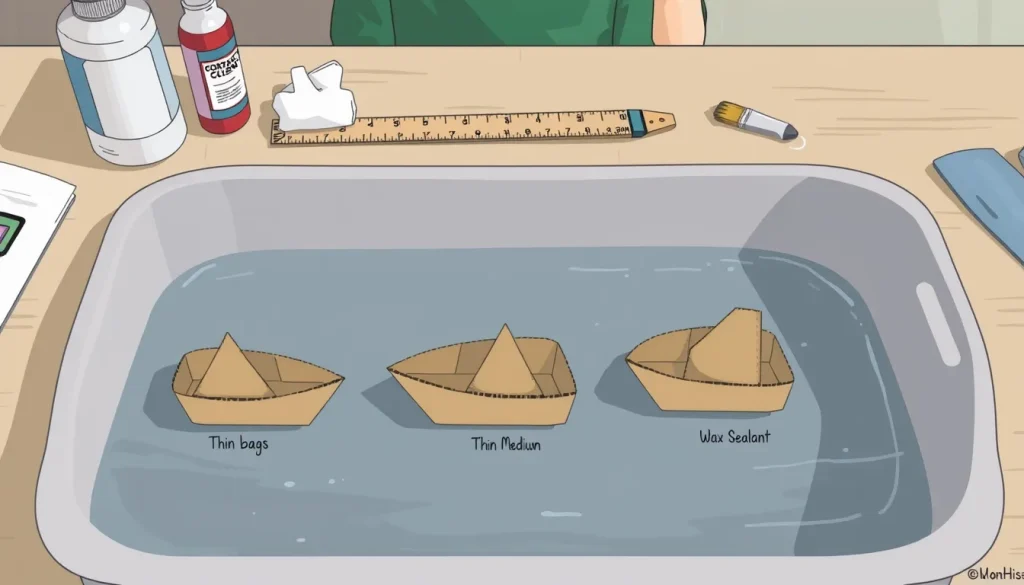
- Cut the panels. Using the ruler and utility knife, cut two side panels, two end panels, and one bottom panel from each thickness set. You will end up with three complete boats (one thin, one medium, one thick).
- Reinforce seams. Apply a thin line of contact cement along each edge that will join two pieces. Press the pieces together, then wrap paper drywall tape over the joint for extra strength. Let the cement cure for 5 minutes.
- Seal the hull. Melt paraffin wax in a small heat‑proof container (adult only) and brush a thin coat over the entire exterior of the boat, or spray a water‑based sealant according to the product directions. This prevents water from soaking the cardboard during testing.
- Label each boat. Write “Thin (1/8‑in)”, “Medium (1/4‑in)”, and “Thick (1/2‑in)” on the underside with a marker.
- Prepare the test water. Fill the tub or kiddie pool with room‑temperature water to a depth of about 15 cm.
- Float test. Gently place each boat in the water and observe whether it stays level. If a boat tips, adjust weight distribution by adding a small amount of tape to the low side.
- Load testing. Add weight in 0.5 kg (≈ 1 lb) increments to the center of the boat. After each addition, wait 10 seconds and note whether the boat remains afloat and how high the water line rises along the side wall.
- Record the maximum load. The test ends when the boat begins to take on water or sinks. Write down the total weight supported for each thickness.
- Clean up. Dispose of any excess cardboard in recycling, store remaining sealant according to label directions, and wipe down the work area.
What to Observe or Measure
- Maximum supported weight (kg or lb). This is the primary quantitative result.
- Waterline rise. Use a ruler to measure how many centimeters the water climbs up the side wall at each load step.
- Hull deformation. Note any bending or buckling of the side panels before sinking.
- Time to sink. If you want a secondary metric, record how many seconds the boat stays afloat after the final weight is added.
Design Constraints and Success Criteria
- Size limit: Each boat must not exceed 30 cm × 15 cm × 5 cm (as built).
- Materials only: Cardboard, contact cement, tape, and a waterproof coating. No additional wood, plastic, or metal.
- Safety: No sharp edges exposed after assembly; sealant must be fully dried before testing.
- Success metric: The thickest boat should support at least 10 kg (22 lb) – roughly double the capacity of the thinnest boat – demonstrating the effect of thickness.
The Science Explained – Why Thickness Matters
Corrugated cardboard resists bending because of its internal “flute” structure. The flutes run like tiny arches that give the sheet strength in one direction. When you increase the board’s thickness, you are essentially stacking more arches, which raises the section modulus – a geometric property that determines how much bending stress a material can carry before it yields. In simple terms, the bending resistance of a flat plate grows roughly with the cube of its thickness ( t³ ). This means that doubling the thickness can increase load capacity by about eight times, assuming the material quality stays the same.
In a boat hull, the bottom panel bears the greatest pressure from the water and the cargo weight. By orienting the cardboard flutes so they run lengthwise under the bottom (as recommended by experienced builders) [2], the strongest part of the board resists the downward load. The side walls mainly keep water out; they benefit from transverse flute orientation, which reduces side‑to‑side flex.
Waterproofing is essential because cardboard absorbs water, which reduces its stiffness dramatically. A thin wax or acrylic sealant creates a barrier that keeps the fibers dry, preserving the theoretical strength predicted by the t³ relationship.
Troubleshooting
- Boat takes on water immediately. Check that the sealant fully covered all seams and that tape was applied over every joint. Re‑seal any missed spots.
- Boat tips over when weight is added. Ensure the weight is placed in the center and that the hull is symmetrical. Adding a small strip of tape to the low side can improve stability.
- Cardboard tears at the seam. Use more tape or a second layer of contact cement on the joint. Thinner cardboard (1/8‑in) may need an extra reinforcing strip.
- Wax coating is uneven. Warm the wax until it’s fluid, then use a brush to spread it thinly and evenly. Too‑thick wax can add weight that reduces buoyancy.
Next Steps – Extending the Investigation
Once the basic relationship is clear, students can explore additional variables:
- Change the hull shape (flat bottom vs. V‑shaped) and compare load capacity.
- Replace the waterproof coating with different products (e.g., clear nail polish, silicone spray) and test how long the seal lasts.
- Use a resin‑coated cardboard composite, as described in recent research on alternative boat materials [3], to see if strength improves.
Document findings in a simple report or a poster, and consider entering a local “Cardboard Boat Race” where the same design rules apply.
Related terms
- Flute direction
- The orientation of the corrugated ridges inside cardboard; aligning flutes with load direction makes the board stronger.
- Section modulus
- A geometric property of a cross‑section that determines how much bending stress a shape can resist; it grows with the cube of thickness for flat plates.
- Waterproof coating
- A thin layer (wax, acrylic, or resin) applied to cardboard to keep water out and preserve the material’s strength.
Sources & references
- The Cardboard Boat Book – https://thecardboardboatbook.com/
- Cardboard Boat Building Methods – https://thistlewack.com/cardboard-boat-building
- Mechanical Strength Properties of Resin‑Coated Cardboard – https://doi.org/10.14710/kapal.v22i3.70143