Overview
This project is an engineering challenge that asks children to design a bridge from ordinary cardboard, span a gap, and discover how much weight the bridge can support before it bends or breaks. By changing the shape of the cardboard beam – for example, folding it into a channel or a triangular cross‑section – learners see directly how geometry influences strength. The activity aligns with middle‑school engineering standards and can be completed in about 35 minutes of active work, plus time for testing and reflection.
Before You Begin
- Workspace: Choose a sturdy table with enough room for two supports (books, bricks, or wooden blocks) spaced 30‑60 cm apart.
- Adult supervision: Required for cutting cardboard, handling scissors, and setting up the weight‑loading system.
- Safety: Keep scissors away from children’s faces, and ensure the load weights are stable (e.g., sandbags, coins, or small grocery bags).
Materials
- Cardboard sheets – clean cereal boxes, pizza boxes, or any single‑wall corrugated cardboard (about 1 mm thick).
- Scissors or a utility knife (adults only).
- Packaging tape or masking tape (about 2‑3 m).
- Ruler or measuring tape.</n
- Two stable supports: bricks, books, or wooden blocks of equal height.
- Small, identical test loads – e.g., 100 g sandbags, a stack of coins, or kitchen measuring spoons filled with water.
- Pencil and paper for recording data.
All items are commonly found at home or in a classroom; no special tools are required.
Design Constraints and Success Criteria
These constraints give the challenge focus and make the test fair:
- Span: The bridge must cross a gap of 30 cm (or up to 61 cm if you have a larger workspace, as in the AASHTO truss project) without additional support in the middle.
- Width: The deck (the part the load sits on) should be no wider than 10 cm.
- Materials: Only cardboard, tape, and optional glue may be used. No wood, plastic, or metal parts.
- Weight budget: You may use a total of two sheets of cardboard per bridge. This encourages efficient design rather than simply adding more material.
- Success criteria: Record the maximum load (in grams) the bridge holds before a visible bend or failure. The bridge that holds the greatest load per unit of cardboard wins.
Step‑by‑Step Build
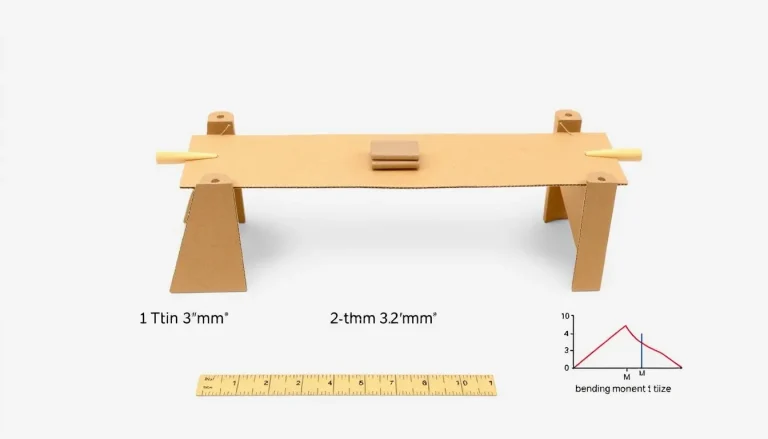
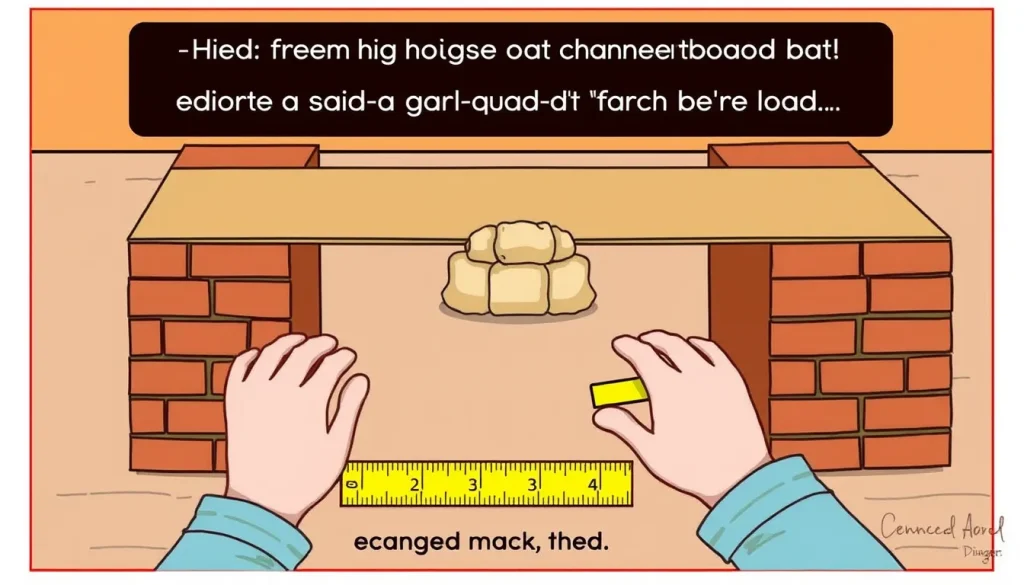
- Set up the supports. Place two equal‑height bricks (or books) on the table, 30 cm apart. Ensure they are level.
- Make a baseline bridge. Lay a flat strip of cardboard (about 30 cm long and 10 cm wide) across the gap. Tape the ends to the supports. This simple beam will serve as a control for later comparison.
- Test the baseline. Add one test weight at a time to the centre of the bridge. Stop when the cardboard bends noticeably. Record the total weight.
This step follows the procedure described in a cardboard beam activity for kids, which uses identical small weights to find the point of bending [1]. - Redesign the beam. Using the second sheet of cardboard, create a stronger cross‑section. Options include:
- Fold the sheet in half lengthwise to make a channel (a “C” shape).
- Fold into a triangular tube (a simple truss shape).
- Make a corrugated style by scoring a series of parallel folds and unfolding them into a wavy shape.
Secure the folds with tape.
- Build the new bridge. Place the shaped beam across the same supports, tape the ends, and ensure it sits level.
- Test the new design. Add the same type of test weights one at a time, recording the total weight at the moment the bridge shows a visible bend or failure. Compare this result with the baseline.
- Iterate. If time permits, redesign using the same amount of cardboard (e.g., add ribs, change the fold angle) and retest. Document each version.
What to Observe or Measure
- Maximum load: The total weight (grams) the bridge supports before bending.
- Deflection: Approximate how far the centre of the bridge drops (millimetres) using a ruler or a ruler‑marked piece of string.
A simple way is to place a ruler underneath the bridge and read the gap. - Failure mode: Note whether the cardboard tore (tension failure) or simply sagged (compression failure).
Record these data in the table below after each trial.

Data Table
| Trial | Bridge Design | Max Load (g) | Deflection (mm) | Notes (e.g., tearing, slipping) |
|---|---|---|---|---|
| 1 | Flat sheet (control) | |||
| 2 | Channel (folded) | |||
| 3 | Triangular tube | |||
| 4 | Corrugated style |
The Science Explained
When a load sits on a bridge, the material at the top of the beam experiences compression (pushed together) while the material at the bottom experiences tension (pulled apart). The resistance to bending depends on two key factors:
- Material strength: Cardboard can resist a certain amount of tension and compression before fibers break.
- Cross‑sectional shape: A wider or deeper shape increases the second moment of area, which is a geometric property that makes a beam harder to bend. Folding a flat sheet into a channel or a triangle moves more material away from the neutral axis (the line that neither stretches nor compresses), dramatically increasing strength without adding mass.
This principle is why engineers use I‑beams, trusses, and arches in real bridges. By experimenting with different cardboard shapes, children experience the same trade‑off that professional engineers consider, only on a tabletop scale.
Troubleshooting
- Bridge collapses immediately: Check that the supports are level and that the cardboard ends are firmly taped to them.
- Excessive sag but no break: The beam may be too shallow. Try a deeper channel or add a second layer of cardboard on the bottom side.
- Weight slips off: Place a thin strip of non‑slip material (e.g., a rubber band) on the deck, or add a low side‑wall made from a short piece of cardboard.
- Tape tears the cardboard: Use short strips of tape rather than long continuous pieces; distribute the load by adding tape at several points along the ends.
Try Another Version
If the basic beam is mastered, challenge learners to build a truss bridge similar to the AASHTO cardstock bridge described in a university‑level project [3]. A truss uses a network of triangles to spread forces, allowing the bridge to carry even more weight with the same amount of cardboard. The same testing procedure applies: load incrementally and record the maximum.
Cleanup and Disposal
- Collect all cardboard pieces and recycle them according to local guidelines.
- Remove tape strips; they can be thrown away or saved for future projects.
- Store any reusable weights in a labelled container.
Next Steps
After several designs are tested, have learners calculate a simple factor of safety by dividing the maximum load they achieved by an estimated load the bridge would need in a real situation (e.g., a toy car weighing 200 g). They can then research real‑world bridge types—suspension, arch, beam—and compare how the principles they observed scale up. This extension links the hands‑on activity to broader engineering concepts and can become a short science‑fair investigation.
Frequently asked questions
Can I use other types of cardboard, like double‑wall or chipboard?
Yes, thicker cardboard will generally increase strength, but keep the total amount of material within the two‑sheet limit to keep the challenge fair.
What if I don’t have small weights?
You can use everyday items of known mass, such as a set of coins, small bags of rice, or water‑filled plastic bottles. Weigh them on a kitchen scale first and record the mass.
Related terms
- Tension
- A pulling force that stretches a material; in a bridge it occurs on the bottom side of a beam under load.
- Compression
- A pushing force that squeezes a material; in a bridge it occurs on the top side of a beam under load.
- Moment of inertia
- A geometric property of a shape that describes how resistant it is to bending; larger values mean a stronger beam.
- Truss
- A framework of triangles that distributes loads efficiently, commonly used in real bridges.
- Factor of safety
- The ratio of the maximum load a structure can bear to the load it is expected to carry in normal use.
Sources & references
- Cardboard Beam Bridge Building Activity for Kids | Southfolk. https://southfolk.com.au/activity/cardboard-beam/
- Building Model Bridges Following the Engineering Process – Yale Teachers Institute. https://teachersinstitute.yale.edu/curriculum/units/2001/5/01.05.04/10
- Vernier STEM Project – Truss Bridge Design Requirements. https://www.vernier.com/files/sample_labs/VST_STEM_PROJECT-truss_bridge.pdf
- Test the Strength of Structural Members – UCOP Learning Activity. https://mesa.ucop.edu/wp-content/uploads/2017/11/5.8-Bridge-Learning-Activity-Test-the-Strength-of-Structural-Members.pdf